Homemade Caramel Popcorn Recipe No Corn Syrup
Homemade Caramel Popcorn Recipe (without Corn Syrup) The smell of popcorn always takes me back to movie nights. But when it’s coated in a rich, homemade caramel that skips the corn syrup, it becomes something truly special. This recipe uses simple pantry staples to create a batch of deeply flavored, delightfully crunchy caramel popcorn. It’s perfect for movie nights, holiday treats, or just an afternoon snack when you need something sweet and satisfying. The key to its success is patient cooking of the caramel to achieve the right consistency. Using a good quality butter also lends a wonderful richness that you just can’t get from store-bought versions. This homemade caramel popcorn recipe proves you don’t need corn syrup for incredible flavor and texture.
Ingredients:
- 2 Tablespoons vegetable oil (for popping kernels)
- ¼ cup popcorn kernels ((approximately 8 cups once popped))
- ¾ cup unsalted butter ((1.5 sticks))
- ¾ cup brown sugar
- 2 teaspoons vanilla extract
- ¼ teaspoon salt
- 1 teaspoon baking soda
Cooking Instructions
Pop the Popcorn
Begin by popping your corn. Heat the 2 Tablespoons of vegetable oil in a large, heavy-bottomed pot or Dutch oven over medium-high heat. Add the ¼ cup of popcorn kernels. Cover the pot tightly with a lid. You can also cover the lid with a kitchen towel to catch any stray kernels. Once the popping starts, shake the pot gently every so often to ensure even cooking and to prevent the kernels from burning on the bottom. Listen carefully; when the popping slows to about one pop every 2-3 seconds, remove the pot from the heat. This usually takes about 3-5 minutes. Immediately pour the popped popcorn into a very large bowl, making sure to leave any unpopped kernels behind.
Homemade Caramel Popcorn Recipe (without Corn Syrup)
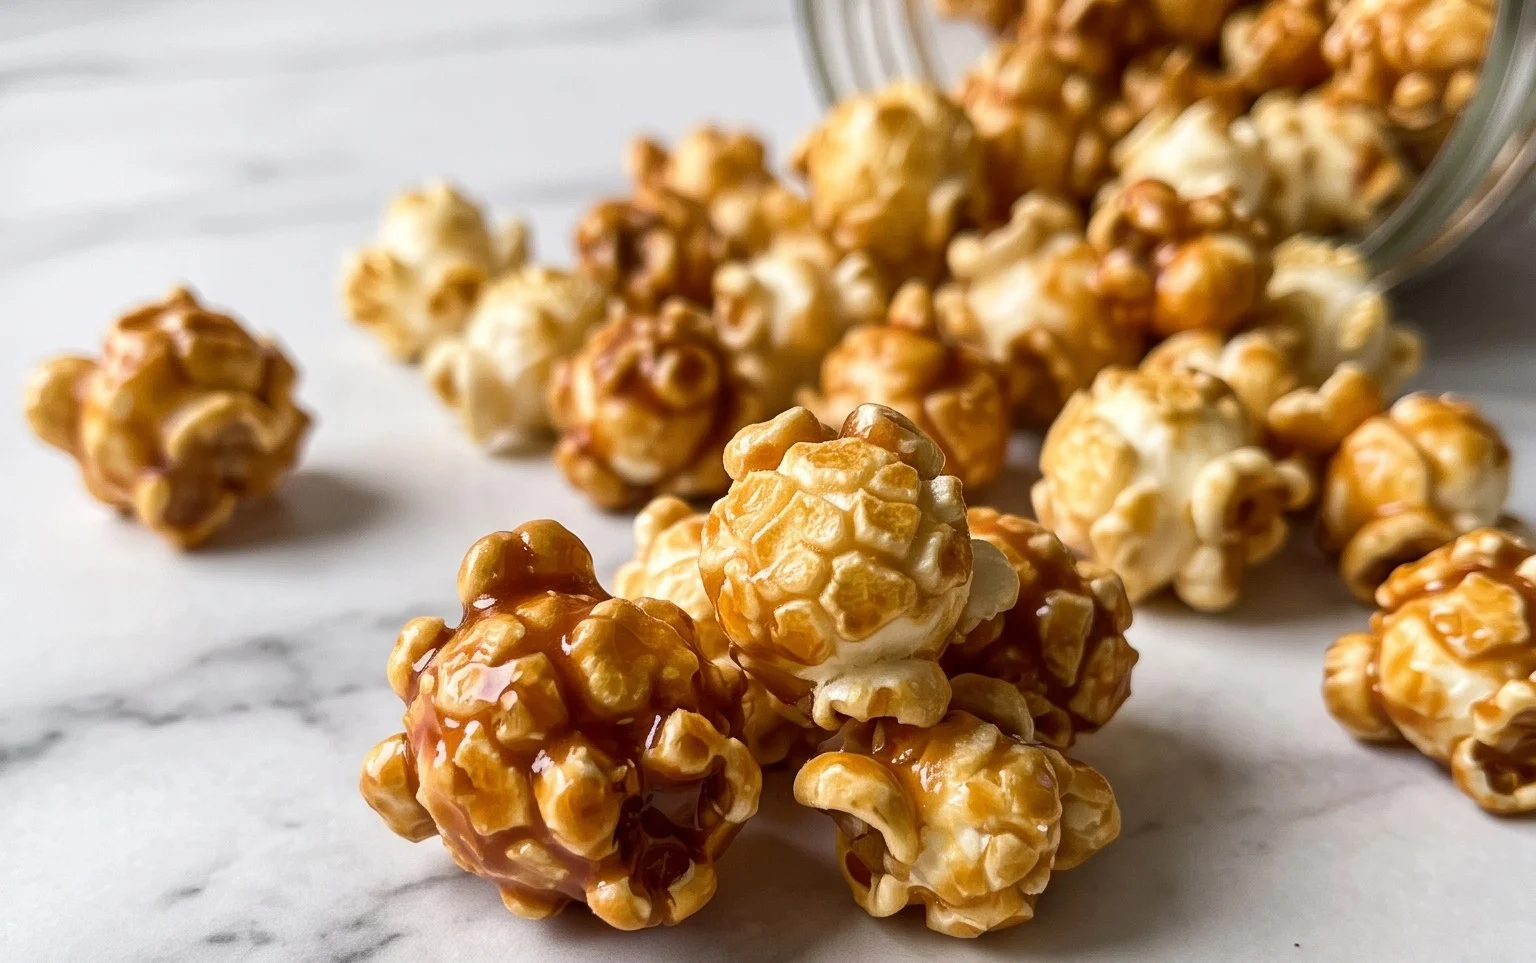
The aroma of freshly popped popcorn is one thing, but when it’s coated in a rich, homemade caramel, it becomes something truly special. This recipe skips the corn syrup, relying on simple pantry staples to create a batch of deeply flavored, delightfully crunchy caramel popcorn that’s perfect for movie nights, holiday treats, or just an afternoon snack. The key to its success is patient cooking of the caramel to achieve the right consistency and a good quality butter that lends a wonderful richness.
Ingredients:
- 2 Tablespoons vegetable oil (for popping kernels)
- ¼ cup popcorn kernels ((approximately 8 cups once popped))
- ¾ cup unsalted butter ((1.5 sticks))
- ¾ cup brown sugar
- 2 teaspoons vanilla extract
- ¼ teaspoon salt
- 1 teaspoon baking soda
Cooking Instructions
-
Pop the Popcorn
Begin by popping your corn. Heat the 2 Tablespoons of vegetable oil in a large, heavy-bottomed pot or Dutch oven over medium-high heat. Add the ¼ cup of popcorn kernels. Cover the pot tightly with a lid. You can also cover the lid with a kitchen towel to catch any stray kernels. Once the popping starts, shake the pot gently every so often to ensure even cooking and to prevent the kernels from burning on the bottom. Listen carefully; when the popping slows to about one pop every 2-3 seconds, remove the pot from the heat. This usually takes about 3-5 minutes. Immediately pour the popped popcorn into a very large bowl, making sure to leave any unpopped kernels behind in the pot. It’s important to get the popcorn out of the hot pot right away to stop the cooking process. You should end up with approximately 8 cups of popped popcorn. Set this aside.
-
Make the Caramel Base
In the same pot you used for popping the corn (no need to wash it, the little bit of leftover oil won’t hurt), melt the ¾ cup of unsalted butter over medium heat. Once the butter is completely melted and slightly foamy, add the ¾ cup of brown sugar and the ¼ teaspoon of salt. Stir constantly with a whisk or wooden spoon until the brown sugar is mostly dissolved and the mixture is smooth. This is where patience comes in. You want the sugar to melt and incorporate with the butter. Continue to cook this mixture, stirring frequently, for about 3-5 minutes, allowing it to bubble gently. You’re not aiming for a specific temperature here, just ensuring the sugar has melted into the butter and is beginning to thicken slightly.
-
Simmer the Caramel
Bring the caramel mixture to a gentle boil. Once it starts bubbling, reduce the heat slightly to maintain a steady, gentle simmer. Let it simmer for about 5 minutes, stirring occasionally. This simmering process is crucial for developing the caramel’s flavor and texture. It allows the sugars to cook and thicken. Be careful not to stir too vigorously during this stage, as it can encourage crystallization. You’ll notice the color of the caramel will deepen slightly. It should be a rich amber hue. After 5 minutes, remove the pot from the heat.
-
Add Flavor and Leavening
Immediately stir in the 2 teaspoons of vanilla extract. The vanilla adds a wonderful aroma and depth of flavor to the caramel. Once the vanilla is incorporated, carefully whisk in the 1 teaspoon of baking soda. This is a fun part! The mixture will foam up dramatically. This foaming action is what gives the caramel a lighter, crunchier texture, making it less dense and sticky. Whisk gently until the foaming subsides, but don’t overmix. The baking soda reacts with the acidic brown sugar, creating air bubbles.
-
Coat the Popcorn
Pour the hot caramel mixture over the popped popcorn in the large bowl. Work quickly but carefully, as the caramel is very hot. Using a large spatula or a wooden spoon, gently fold and stir the popcorn to ensure every piece is evenly coated with the caramel. It might seem like a lot of caramel at first, but keep tossing until the popcorn is well-distributed. This is a good opportunity to check for any large clumps of popcorn and break them apart gently with your spatula.
-
Cool and Crisp
Spread the caramel-coated popcorn in a single layer onto baking sheets lined with parchment paper. You can use two large baking sheets if necessary to avoid overcrowding, which can lead to steaming instead of crisping. Let the caramel popcorn cool completely at room temperature. This cooling process is essential for the caramel to harden and for the popcorn to become delightfully crunchy. Resist the urge to touch or stir it while it’s cooling. Once it’s completely cool, you can break apart any large clumps into individual servings. This typically takes about 1 to 2 hours. Store the finished caramel popcorn in an airtight container at room temperature for up to a week.
Conclusion:
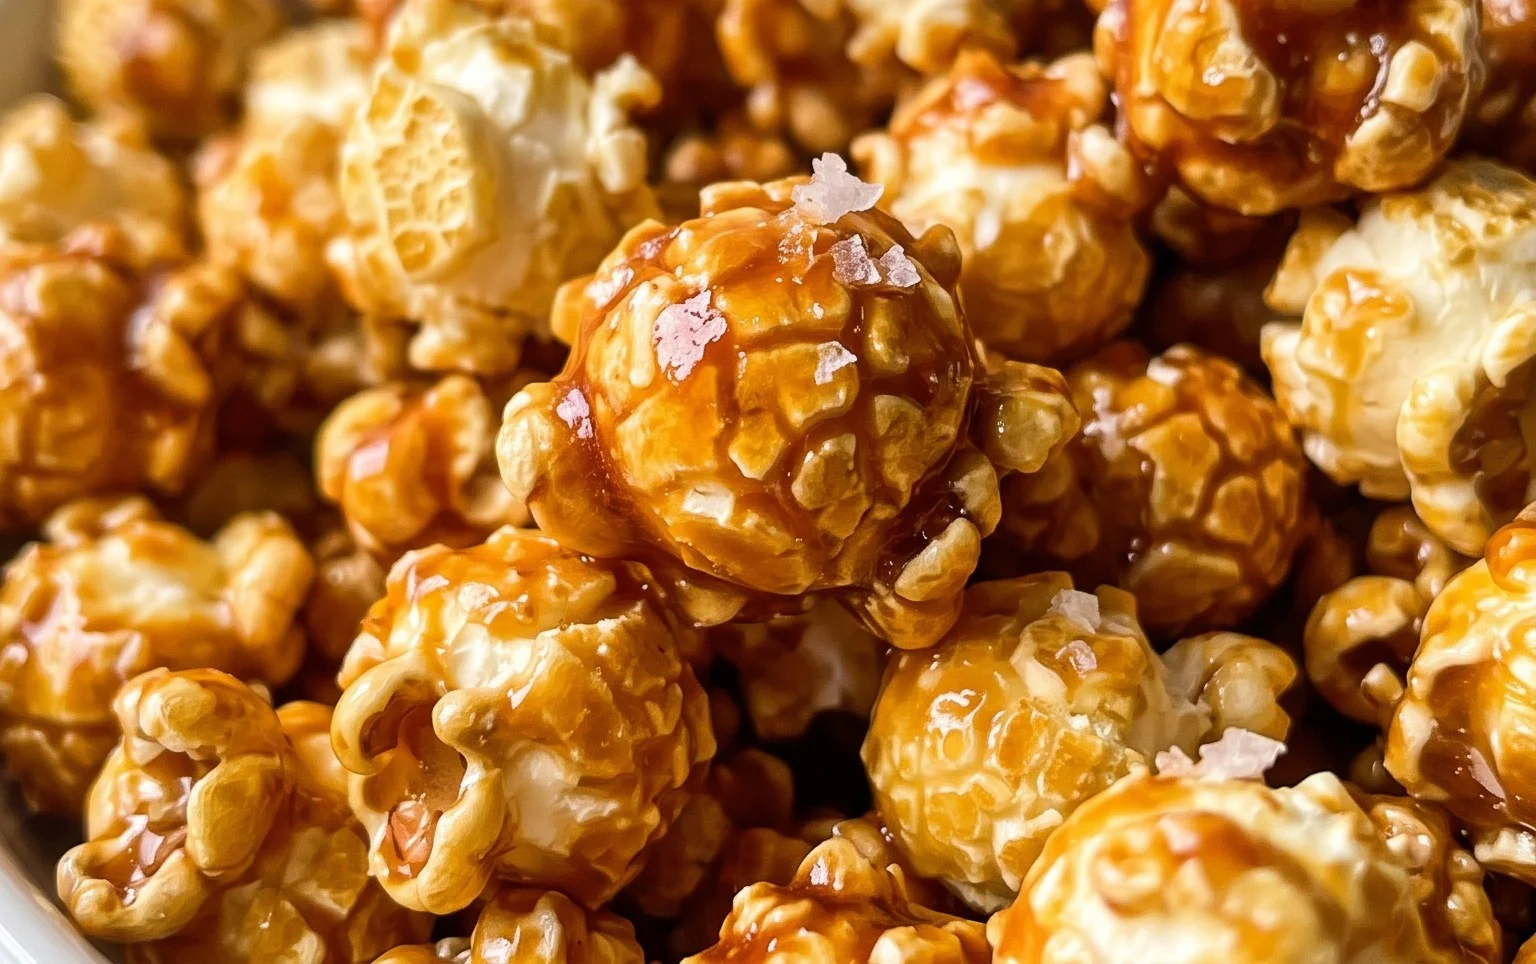
This homemade caramel popcorn recipe is a guaranteed crowd-pleaser, proving that you don’t need corn syrup for a fantastic, deeply satisfying caramel coating. The process is straightforward and rewarding, resulting in popcorn that’s perfectly crunchy and deliciously sweet without being cloying. It’s much better than anything you can buy in a bag and tastes so much richer. Serve it warm for a gooey treat, or let it cool completely for that signature crunch that snaps when you bite into it. It’s wonderful served alongside ice cream or just eaten straight from the bowl.
Variations to Try:
Feel free to add mix-ins once the popcorn has cooled slightly. Stir in some chopped nuts like pecans or walnuts, or even some mini chocolate chips. A sprinkle of sea salt on top right after it comes out of the oven also adds a lovely sweet-and-salty contrast.
Serving Suggestions:
This caramel popcorn is perfect for movie nights, parties, or as a homemade gift. Package it in cello bags tied with a ribbon, or store it in an airtight container for a few days. It’s a sweet treat that everyone will love.
Frequently Asked Questions:
How do I prevent the caramel from burning?
The key is to stir the caramel mixture constantly once it starts to bubble and to keep the heat at a medium setting. Don’t rush the process. Watch for the color – it should turn a nice amber. If it starts to get too dark, remove it from the heat immediately.
Can I make this caramel popcorn ahead of time?
Yes, absolutely. Once the caramel popcorn is completely cooled, store it in an airtight container at room temperature. It should stay fresh and crunchy for up to 3-5 days, though it rarely lasts that long!
Why is my caramel sticky and not crunchy?
This usually happens if the caramel doesn’t reach a high enough temperature or if it’s too humid when you make it. Ensure you’re cooking the sugar mixture until it reaches the hard-ball stage (around 245-250°F or 118-121°C if you have a candy thermometer, though this recipe relies on visual cues and time). Also, try to make it on a dry day for the best results.
Homemade Caramel Popcorn Recipe (without Corn Syrup)
A delicious homemade caramel popcorn recipe that skips the corn syrup for a rich, buttery flavor.
Ingredients
-
2 Tablespoons vegetable oil (for popping kernels)
-
1/4 cup popcorn kernels
-
3/4 cup unsalted butter (1.5 sticks)
-
3/4 cup brown sugar
-
2 teaspoons vanilla extract
-
1/4 teaspoon salt
-
1 teaspoon baking soda
Instructions
-
Step 1
Heat vegetable oil in a large pot or Dutch oven over medium-high heat. Add popcorn kernels, cover, and shake the pot occasionally until popping slows to a few seconds between pops. Remove from heat and set aside. -
Step 2
In the same pot (or a separate saucepan), melt butter over medium heat. Stir in brown sugar and salt. Bring to a boil, stirring constantly, and cook for 5 minutes. -
Step 3
Remove the pot from the heat and stir in the vanilla extract and baking soda. The mixture will become foamy. -
Step 4
Pour the caramel mixture over the popped popcorn. Stir gently to coat the popcorn evenly. -
Step 5
Spread the caramel popcorn in a single layer on a large baking sheet lined with parchment paper. Allow to cool completely before breaking apart.
Important Information
Nutrition Facts (Per Serving)
It is important to consider this information as approximate and not to use it as definitive health advice.
Allergy Information
Please check ingredients for potential allergens and consult a health professional if in doubt.