Easy Lunch & Snack Boards Effortless & Delicious
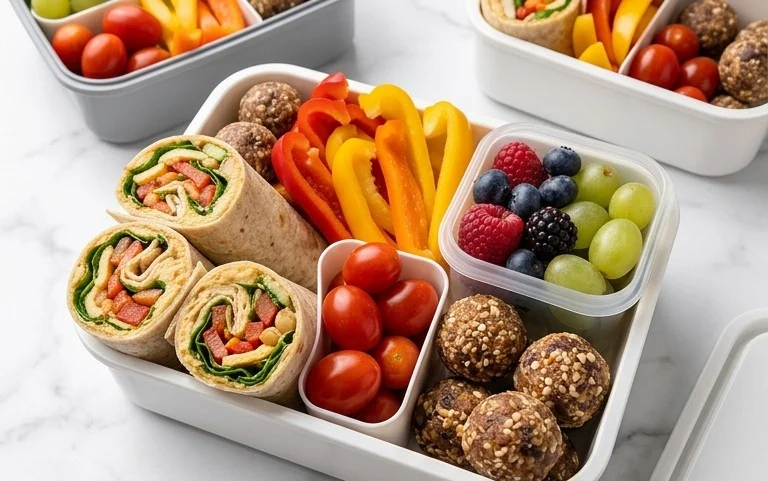
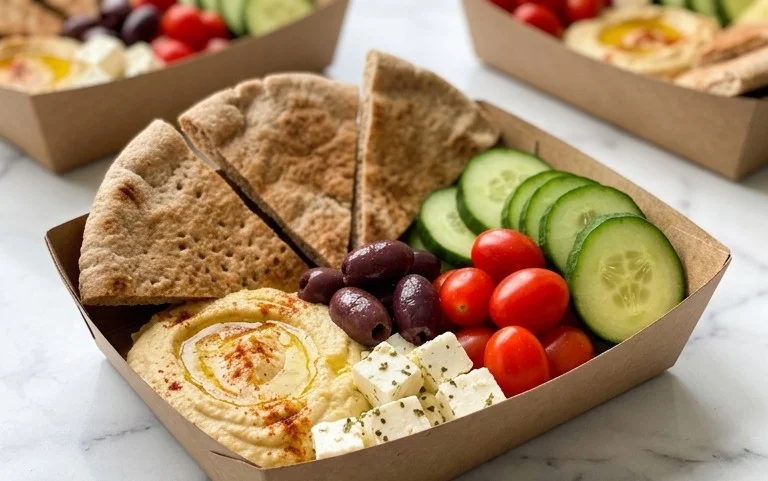
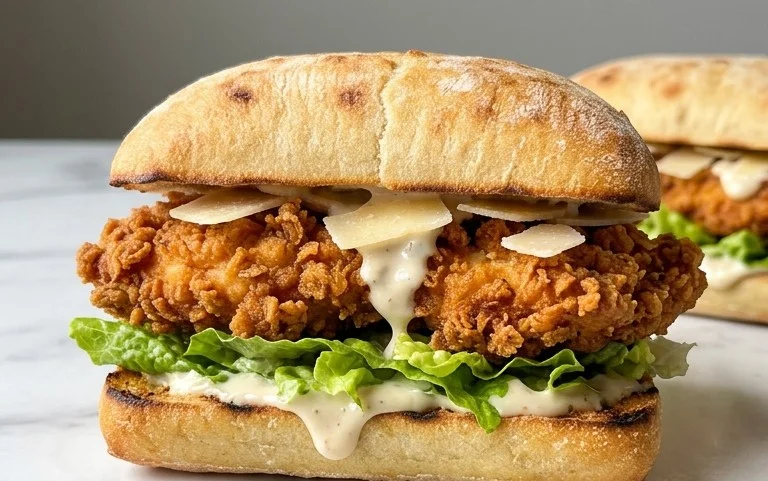
Easy lunch and snack boards are the ultimate game-changer for busy days and relaxed weekends alike. Forget the fuss of individual meal prep; these vibrant platters are all about effortless assembly and crowd-pleasing deliciousness. What’s not to love? They’re a beautiful mosaic of textures, flavors, and colors, offering a delightful variety in every bite. People adore them because they feel fancy without the effort, making any meal feel like a special occasion. The magic of easy lunch and snack boards lies in their incredible versatility. You can tailor them to any craving, dietary need, or pantry staple you have on hand. Think of them as your edible canvas, ready to be painted with your favorite cheeses, fruits, veggies, crackers, dips, and even a few sweet treats. They’re perfect for a quick solo lunch, a delightful brunch spread, or an impressive gathering with friends. Let’s dive into how you can create your own stunning and delicious easy lunch and snack boards!
Easy Lunch and Snack Boards
Welcome to the wonderful world of lunch and snack boards! Forget the fuss of individual plates and complicated recipes. These boards are all about effortless assembly, vibrant flavors, and satisfying everyone’s cravings. Whether you’re looking for a quick and healthy lunch, a delightful afternoon snack, or even a casual dinner that feels special, a well-crafted board is your answer. It’s a fantastic way to use up odds and ends in your fridge, encourage mindful eating, and create a visually appealing spread that’s as fun to build as it is to devour. Let’s get started on creating some delicious and easy boards!
Ingredients:
- Assorted cheeses (cheddar, brie, gouda, goat cheese)
- Cured meats (beef salami, beef prosciutto, beef pepperoni)
- Fresh fruits (grapes, berries, sliced apples, orange slices)
- Dried fruits (apricots, dates, figs)
- Crackers and/or bread (baguette slices, water crackers, pita chips)
- Nuts and seeds (almonds, walnuts, pumpkin seeds)
- Vegetables (cucumber slices, carrot sticks, bell pepper strips, cherry tomatoes)
- Dips and spreads (hummus, guacamole, honey, jam)
- Olives and pickles
- Fresh herbs for garnish (rosemary, parsley)
Building Your Board: A Step-by-Step Guide
Creating a beautiful and delicious lunch or snack board is surprisingly simple. The key is variety, color, and thoughtful arrangement. Don’t be afraid to get creative and adapt these suggestions to your own tastes and what you have on hand.
1.
Start with Your Base and Anchors
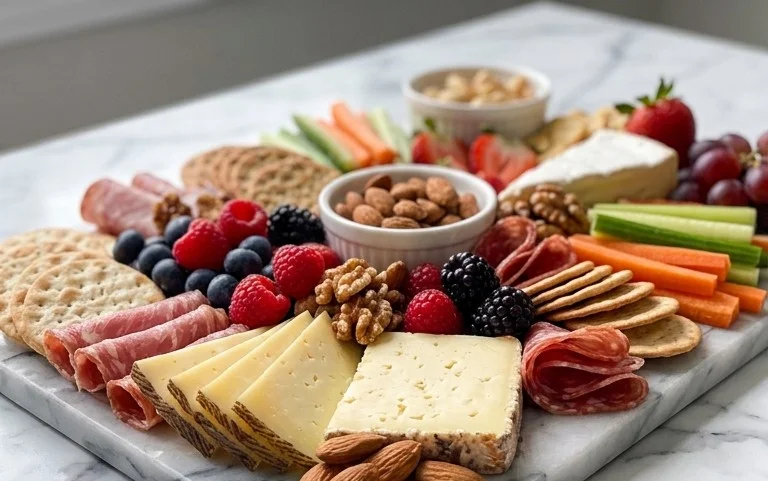
Begin by selecting your serving board or platter. This could be a large wooden cutting board, a slate tile, a decorative platter, or even a clean baking sheet. The size of your board will dictate how much food you can include. Next, place your larger items or “anchors” on the board. This typically includes your cheeses and any small bowls for dips or olives. Strategically place these items to create visual interest and provide natural gathering points for the other ingredients. For example, a wheel of brie can be placed in the center or off to one side, while a small ramekin of hummus can anchor a corner. This step is crucial because it establishes the structure of your board.
2.
Arrange Your Cheeses and Meats
Now, it’s time to add your cheeses and cured meats. If you have different types of cheese, cut them into various shapes. A block of cheddar can be cubed, a wheel of brie can be left whole or sliced, and goat cheese can be rolled into small balls. Arrange the cheese pieces around your anchor bowls, leaving some space between them. For cured meats, you can fold slices of beef salami or beef prosciutto into “roses” or simply lay them flat in appealing piles. Alternate the textures and colors of your meats and cheeses to make the board more visually dynamic. Think about placing a red beef salami near a pale brie, for instance.
3.
Fill in with Fruits and Vegetables
This is where your board really starts to come alive with color! Add your fresh fruits and vegetables, filling in the gaps between the cheeses and meats. Cluster grapes together, scatter berries in small groups, and arrange sliced apples or orange segments. For vegetables, create colorful rows of cucumber slices, carrot sticks, bell pepper strips, and cherry tomatoes. The freshness of these items will balance the richness of the cheeses and meats. Consider the colors – vibrant reds from berries and tomatoes, greens from cucumber and bell peppers, and sunny yellows from apples. Don’t be afraid to let them spill over slightly onto the board; this adds to the abundant feel.
4.
Add Your Crunch and Sweetness
Now, it’s time to introduce the delightful crunch and sweetness. Place your crackers and bread slices in various locations on the board. You can fan them out, stack them neatly, or even tuck them into small spaces. This provides the perfect vehicle for scooping up dips and cheeses. Follow with your nuts and seeds, scattering them in small piles or in a few select spots. For dried fruits, place them near the cheeses or nuts. These elements add texture and sweetness that complements the savory components perfectly. Think about placing a handful of almonds near the brie or scattering some dried apricots alongside the goat cheese.
5.
The Finishing Touches
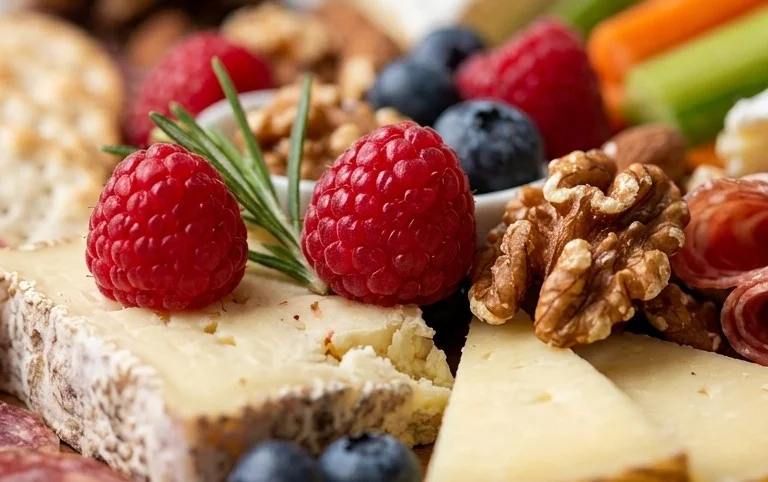
The final step is all about those little details that elevate your board from good to exceptional. Ensure your dips and spreads are in their respective bowls, and that they are easily accessible. You can drizzle honey over the brie, or place a dollop of jam next to a sharp cheddar. Add your olives and pickles to any remaining empty spaces; their briny flavors are a welcome contrast. Finally, for a touch of freshness and visual appeal, tuck a few sprigs of fresh herbs like rosemary or parsley around the board. This not only adds a beautiful aroma but also a pop of green that ties everything together. Step back and admire your creation – it’s ready to be enjoyed! Remember, the beauty of these boards is their flexibility. Don’t hesitate to swap out ingredients based on what’s in season or what you love. The most important ingredient is enthusiasm!
Conclusion:
I hope you’re as excited as I am about creating your own stunning and delicious easy lunch and snack boards! These boards are a lifesaver for busy days, offering a customizable and visually appealing way to enjoy a variety of flavors and textures. The beauty lies in their simplicity; you can whip up a satisfying meal or delightful snack with minimal effort and maximum impact. They’re perfect for a quick solo lunch, a casual gathering with friends, or even as an elegant appetizer. Don’t be afraid to get creative with your ingredient choices!
Think outside the box for serving suggestions: beyond a simple lunch, these boards make fantastic brunch spreads, picnic centerpieces, or even a fun family movie night treat. Variations are endless! Swap out cheeses, add seasonal fruits and vegetables, incorporate different dips and spreads, or even make it a themed board for a special occasion. The key is to have fun and tailor it to your personal preferences and what you have on hand. I truly encourage you to give these easy lunch and snack boards a try. You’ll be amazed at how quickly they become a go-to in your entertaining or meal prep repertoire.
Frequently Asked Questions:
Q: How do I store leftovers from an easy lunch and snack board?
A: The best way to store leftovers is to carefully remove each component from the board and store them in separate airtight containers in the refrigerator. This will help maintain the freshness and texture of each ingredient. For example, cheeses should be wrapped tightly, and any cut fruits or vegetables should be in their own containers.
Q: What are some good gluten-free or vegan options for these boards?
A: Absolutely! For gluten-free, focus on crackers made from rice or seeds, fresh fruits and vegetables, nuts, seeds, and gluten-free charcuterie. For vegan boards, replace dairy cheeses with nut-based or cashew cheeses, use vegan crackers, include a variety of colorful vegetables like bell peppers, cucumbers, and carrots, fresh fruits, olives, hummus, guacamole, and various nuts and seeds. There are also fantastic vegan deli slices available now!
Easy Lunch and Snack Boards
Create beautiful and delicious lunch and snack boards with these easy tips and ingredient ideas, perfect for quick meals or entertaining.
Ingredients
-
Assorted cheeses (cheddar, brie, goat cheese)
-
Cured meats (prosciutto, salami)
-
Fresh fruit (grapes, berries, apple slices)
-
Crackers and breadsticks
-
Nuts (almonds, walnuts)
-
Olives
-
Dipping sauces (honey, mustard)
Instructions
-
Step 1
Select a variety of cheeses with different textures and flavors. Slice or cube harder cheeses and leave softer cheeses whole. -
Step 2
Arrange cured meats on the board, folding or rolling them for visual appeal. -
Step 3
Fill in spaces with fresh fruits, such as clusters of grapes, scattered berries, and fanned apple slices. -
Step 4
Add crackers and breadsticks around the other ingredients. Offer different shapes and textures. -
Step 5
Incorporate small bowls of nuts and olives to add variety and texture. -
Step 6
Include a small dish of honey or mustard for dipping.
Important Information
Nutrition Facts (Per Serving)
It is important to consider this information as approximate and not to use it as definitive health advice.
Allergy Information
Please check ingredients for potential allergens and consult a health professional if in doubt.